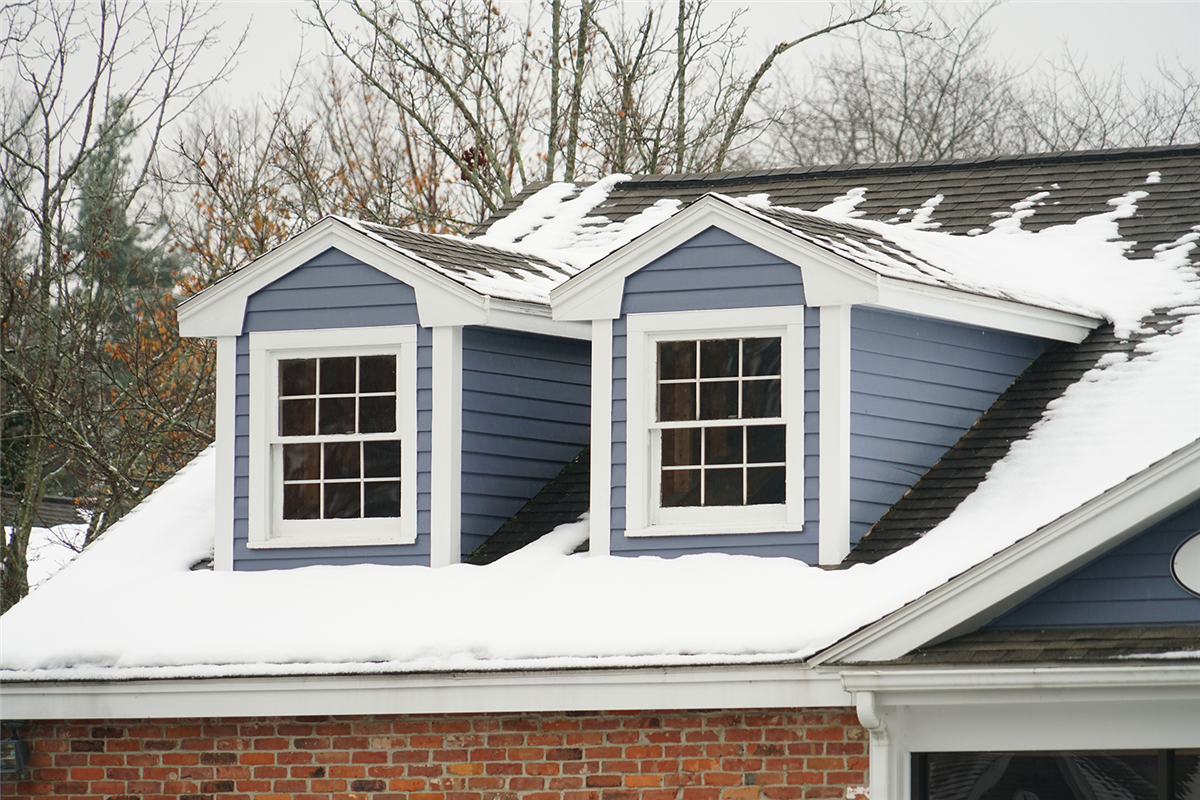
Winter in New York and New England can be harsh on your asphalt shingle roof, with snow, ice, and freezing temperatures leading to potential damage. To prevent costly repairs and extend the life of your roof, follow these essential roof winterization tips.

1. Clean Your Gutters and Downspouts
Why: Clogged gutters can cause water to back up under your shingles, leading to ice dams and leaks.
How: Before winter hits, clean out your gutters and downspouts to ensure water can flow freely and prevent ice buildup. Keeping gutters clear of leaves and debris is a simple yet effective way to protect your roof from damage.
2. Inspect for Missing or Damaged Shingles
Why: Damaged shingles or missing shingles can allow water to penetrate your roof, leading to leaks and other forms of damage.
How: Regularly inspect your roof for broken or loose shingles. Replace any damaged shingles with high-quality asphalt shingles to prevent water infiltration during winter. If you notice any issues, contact a trusted roof contractor to schedule a roof inspection.
3. Remove Snow and Ice Buildup
Why: Accumulated snow and ice on your roof can create excessive weight, which puts stress on your roof structure and causes leaks.
How: Use a roof rake to safely remove snow from the edges of your roof. For ice dams, it’s best to contact a local roof contractor to safely remove the buildup and avoid damaging the shingles.
4. Ensure Proper Attic Insulation and Ventilation
Why: Poor attic insulation can cause uneven roof temperatures, leading to melting snow that refreezes and forms ice dams.
How: Proper attic insulation and ventilation are crucial for maintaining a consistent roof temperature. This will help prevent ice dams and moisture buildup, which can lead to costly repairs. If you’re not sure about your attic's condition, reach out to a roof contractor near you for professional advice.
5. Trim Overhanging Tree Branches
Why: Snow and ice buildup on overhanging branches can cause them to break, potentially damaging your roof.
How: Trim branches that are too close to your roofline to prevent damage during winter storms.
6. Seal Vulnerable Areas
Why: Gaps around chimneys, vents, and skylights can allow water to seep into your home, causing leaks.
How: Inspect all roof penetrations and ensure that any gaps are sealed with high-quality sealant. This includes areas around chimneys, skylights, and vents.
7. Ensure Proper Roof Slope
Why: Flat roofs or roofs with insufficient slope can cause water and snow to pool, leading to leaks and water damage.
How: If your roof has poor drainage, make sure it’s properly sloped to allow snow and water to flow off efficiently. For flat roofs, schedule regular roof maintenance with a roof contractor to prevent standing water.
8. Install Ice and Water Shield Underlayment
Why: An ice and water shield underlayment provides extra protection against ice dams and water leaks.
How: During a roof replacement, ask your contractor to install an ice and water shield along the eaves and valleys to provide added protection against harsh winter weather.
9. Inspect Flashing Around Roof Penetrations
Why: Damaged or worn-out flashing can let water seep in, leading to leaks.
How: Inspect flashing around your chimney, skylights, and vents. Ensure it’s properly sealed and in good condition to keep moisture out.
10. Schedule a Professional Roof Inspection
Why: A professional roof inspection will identify issues before they become significant problems.
How: Schedule a roof inspection with a trusted roof contractor before winter sets in. A professional will check for signs of wear and tear and ensure your roof is ready to handle the elements.
If your roof is outdated, you’re unsure when it was last replaced, or you want peace of mind knowing your roof is free of leaks or issues that could impact your energy bills, schedule a free roof exam with a ProEdge Remodeling roofing expert today!
Tags
Subscribe to ProEdge Remodeling's Blog


